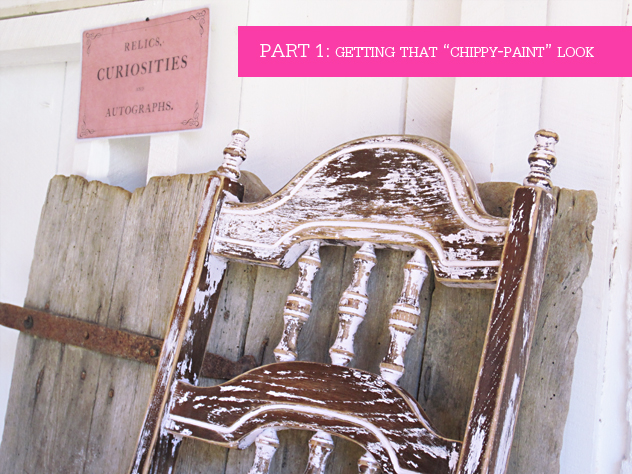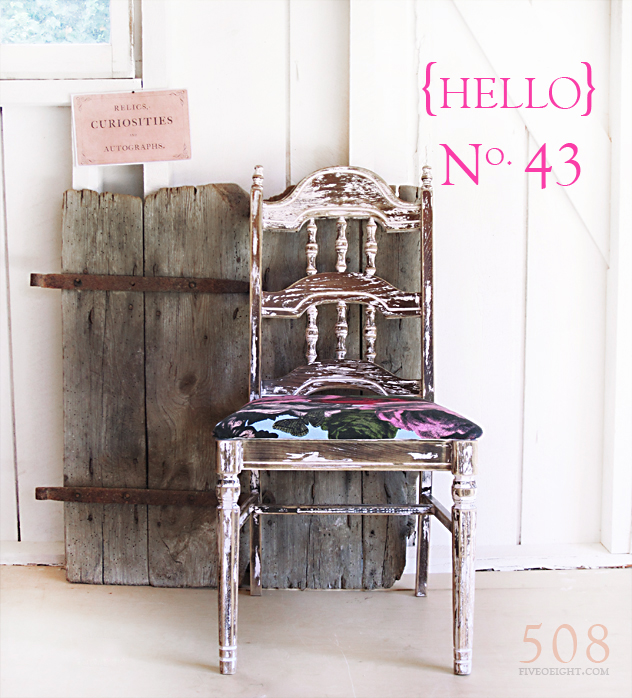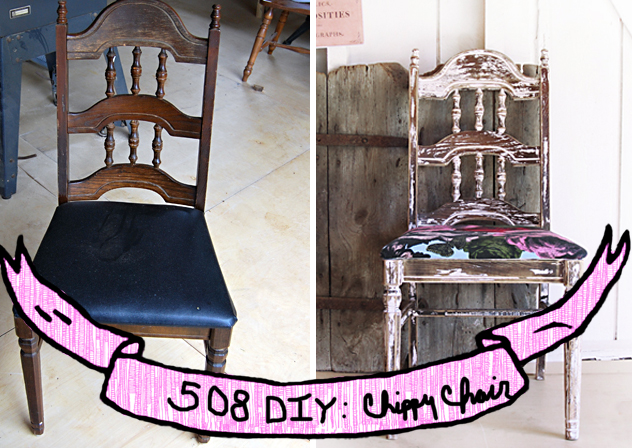
I just recently did a guest post for Bemz {its a cover up} giving a run-down on one of our painting methods- you can check them out…Bemz covers & fabrics are crazy awesome. Anyway, I thought I would post it here too….because this beauty is for sale in our shop AND because I thought of some additional tips in hind sight that I wanted to share.
I also realize this may be old news to some, but many of our readers have asked our process and how we achieve our looks…so, I thought this chair was a good example of just one of the methods we use to create that old chipped paint look. I like this method because it gives a similar look to Milk Paint, but you have more control.
Tools:
- 150-220 grit flat sanding sheets, cut for whatever size you need* {508 uses: 3M Sandblaster or Norton 3X}
- electric sander (if you have it) & sanding sheets that fit
- fine grit sanding sponges, 220-320 {508 uses: 3M}
- furniture wax {508 uses: Fiddes}
- a few lint free rags
- paint, satin finish {508 uses: Benjamin Moore or Behr}
- paint brush {508 uses: 2” Angled Purdy Brush}
1: DISASSEMBLE
Unscrew the seat. Loosen staples with flathead screwdriver & twist them out with wire cutters.
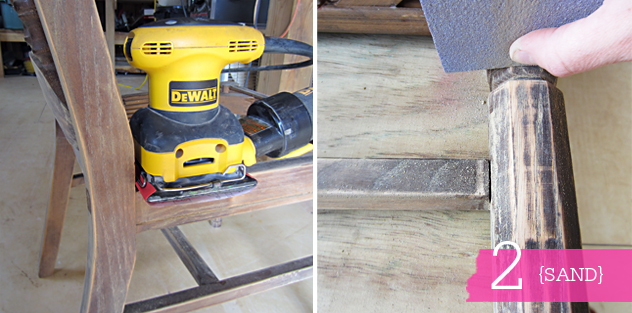
2: SAND
Go with the grain! Start with a medium grit sandpaper {150} using an electric sander {if you have it} for flat areas & flat sheets or sanding sponges for edges & corners. Finish sanding with a fine grit {220-320}.
TIP >> Don’t go crazy- you just want the bulk of that existing finish off or ruffed up. If the finish is really gummy, use a solvent/remover first.
TIP >> Cut long strips of the flat sanding sheets and use them to pull back & forth around each spindles
3: PRE-WAX
Use a lint free rag to apply the furniture wax BEFORE you paint. Wipe on the areas that you want the paint to chip off during the distressing stage. For this chair, I applied the wax all over quickly- not really caring how thick or thin. This made most of the paint come off in the end, which was what I was going for.
TIP >> Be creative with your piece! Don’t be scared. Worst case, you applied too much wax and it is more distressed than you want. Rough it up again and slap on another coat of paint! The more you try, the more you learn.
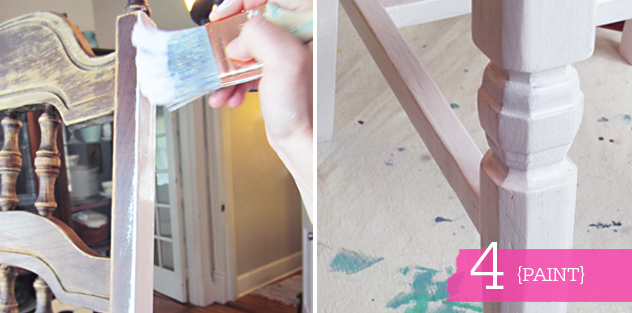
4: PAINT
I only needed one 7oz paint sample for this chair. Using a GOOD brush, apply one coat of paint. I only brushed one coat on this chair because I knew I was going to heavily distress. The 7oz paint samples are still plenty to do 2 coats on a chair if you prefer.
TIP >> Let dry overnight in a dry place {low humidity}. It is hard to wait, but the distressing step will be easier and less gummy this way.
5. DISTRESS
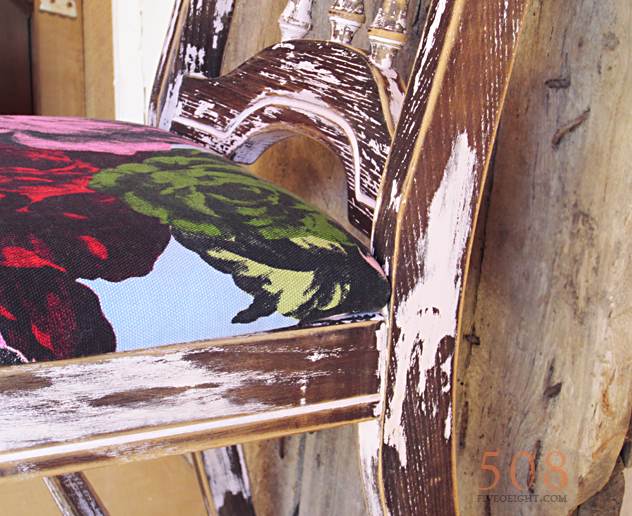
Using your finer grit sanding sponge or sanding sheet, begin distressing. You will see how quickly the paint comes off in the areas you have applied wax underneath. Again, go with the grain and move quickly. If it is not chipping or pealing off, MOVE ON. When you are pleased with your look, thoroughly clean entire piece with damp rag.
TIP >> It is your lucky day! I did my first EVER video tutorial of this. Nathan did not think it was important to ever tape my face, so it is just talking arms & legs. Ha. Other than that, it gives you a pretty good idea of how easy it is to do the distressing step when you have put the wax on first.
TIP>> Be sure to apply a PROTECTIVE COAT. For No. 43, after the chair was clean, I applied a top protective coat of the same clear furniture wax {Fiddes, Light} with a lint free rag, buffing it after 30 min.
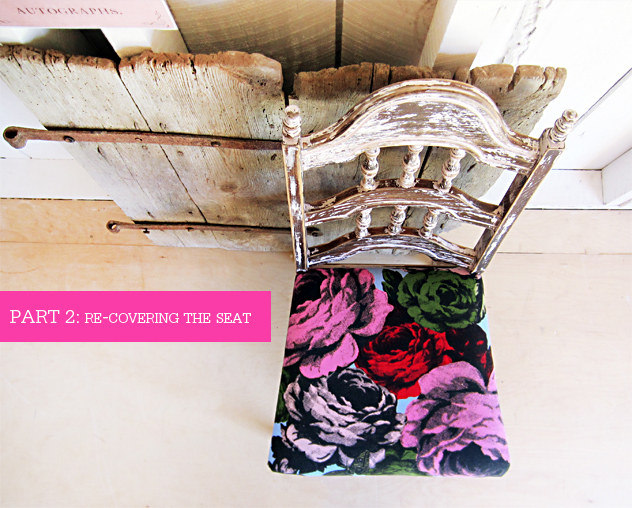
There are plenty of “how-tos” on recovering your basic chair seat- it is pretty simple. But here is the basics of how I do it- quick and easy.
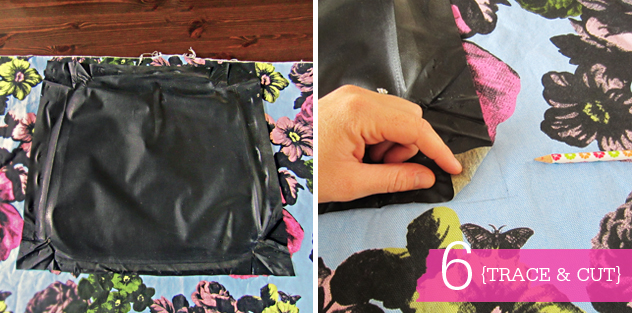
6. CUT FABRIC
If the original fabric isn’t too torn up after you have taken it off, use it to trace your new fabric piece! This ensures that you don’t cut too much extra fabric- or worse, too little!
TIP>>Often, people cut cotton batting to put between the foam and the fabric…in this case, I didn’t want it to look over-stuffed, plus this fabric was pretty thick, so I left the batting out.
7. STAPLE
Basically, I just line up the fabric, staple one side and then continue pulling tight and stapling each flat side first. Then, I work on neatly folding or bunching each corner tightly, stapling the corners in place one by one.
TIP>> I mostly use an Easyshot gun, which isn’t the most powerful out there, but with a heavier duty staple it does just fine for most jobs. If you are stapling into a denser wood or fabric, you may want a more powerful staple gun.
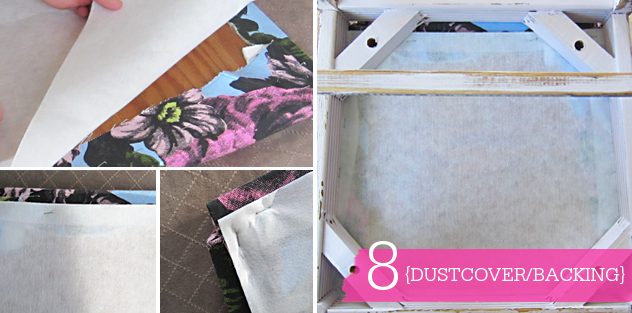
8. BACKING/DUSTCOVER {optional}
Because I tend to “over staple”, I like to lightly staple a white backing/dustcover on the underside of the seat to clean it all up. Especially because in some cases, the seat overhangs from the chair, exposing all those ugly staples and could snag your fingers while moving it around.
Now all you need to do is reassemble your chair and enjoy!
Hope this has helped, feel free to ask questions. Oh, except paint colors…we keep not all, but most of those super secret…I mean, we can’t give EVERYTHING away!
cheers,
s

