{See PART ONE of our DIY headboard here}
{See PART TWO of our DIY headboard here}
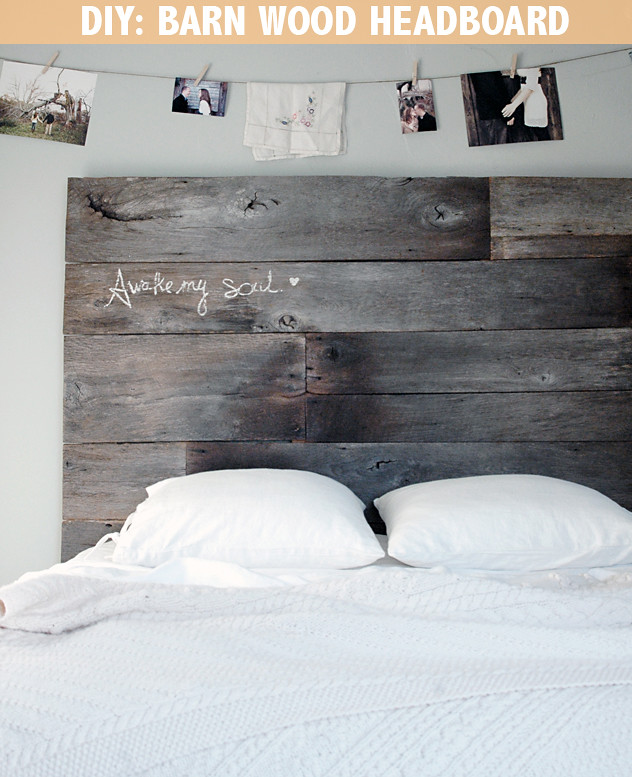
PART THREE: installed in our room!
Are we all as excited as I am?
We FINALLY have a headboard!
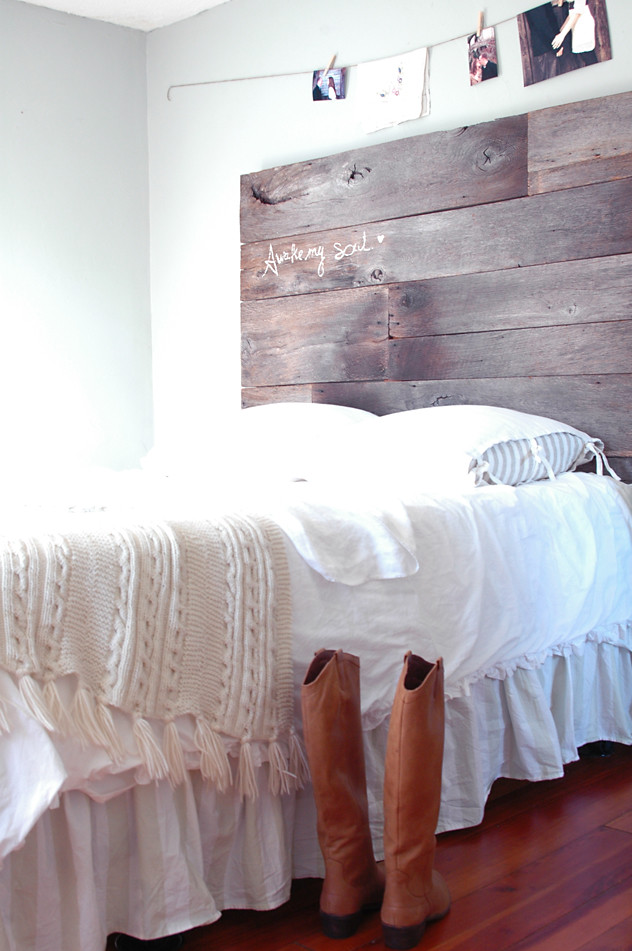
We love how it turned out in the end and feel like it has brought something personal to a much neglected bedroom.
You might notice that we have no end tables- or anything, really. I have never really hung a picture or put any effort into our room. Sad, I know. It has been an accumulation of mis-matched, leftover, unfinished furniture and whatever else we don’t have a space for. But, NO LONGER. Here is where we start.
In the end, we don’t want anything fancy- just a simple peaceful room. Soooo, we figured we would work on one thing at a time. So far, we have a headboard. And we couldn’t be happier.
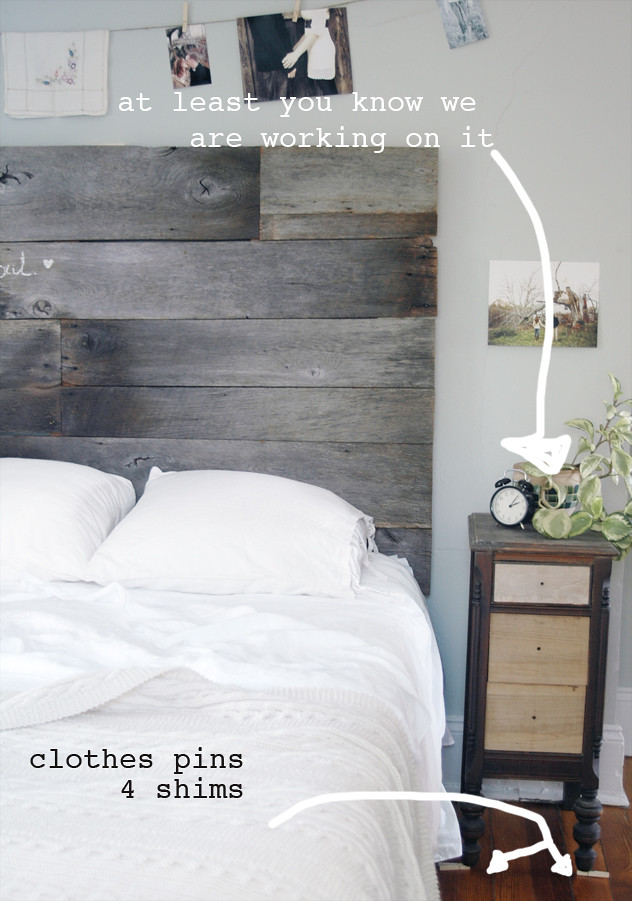
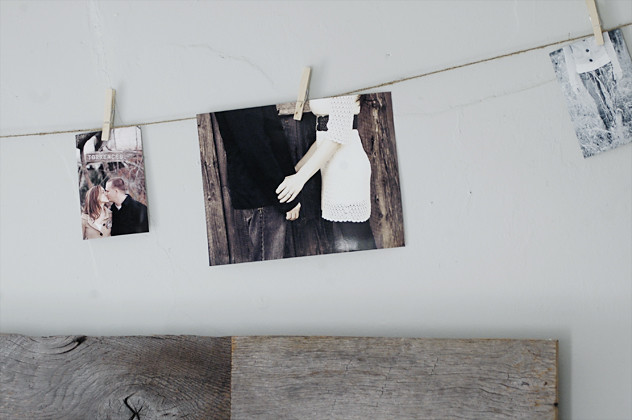
I hung some photos on a string of Nathan & I that make us happy. That’s about all we have so far.
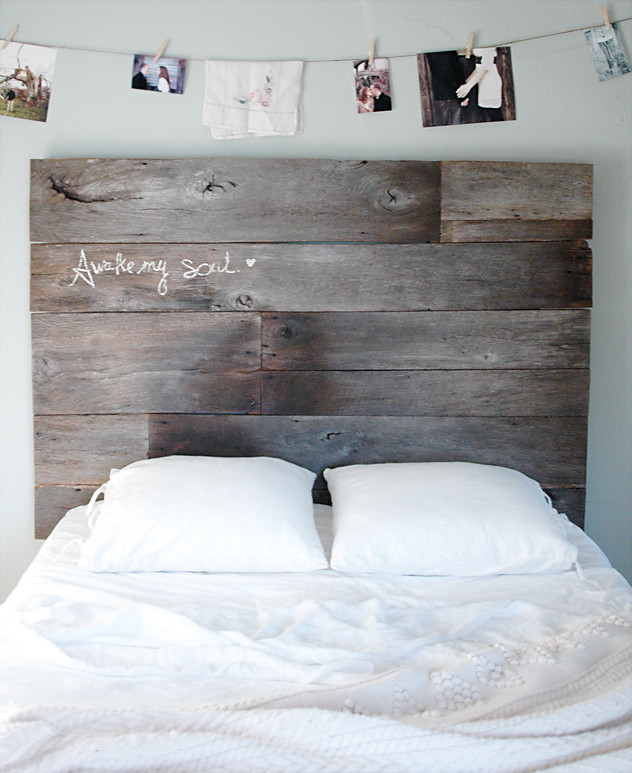
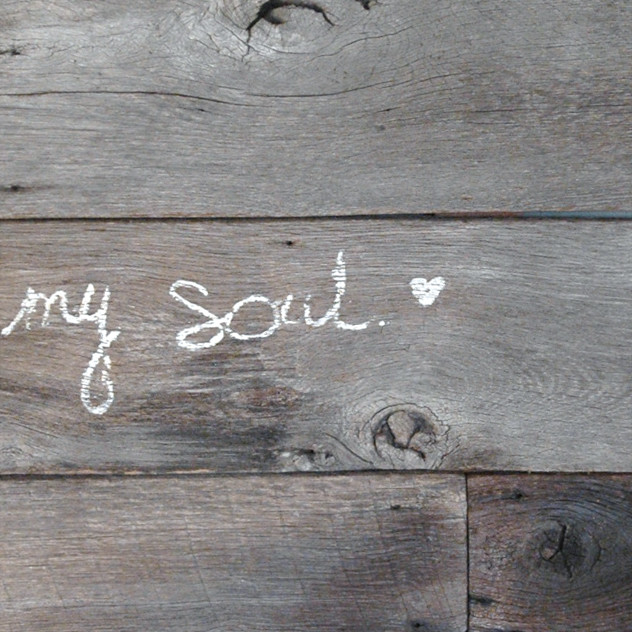
For all those wondering…. AWAKE MY SOUL was a last minute decision to paint….we just did it by hand before the final spray coat. It is from one of our favs: mumford & sons.
I guess it is special to us, though, for a more personal reason. Even while we rest in this lovely new bed, HE is the one who awakes our soul. You can not possibly rest more sweetly knowing there is a God that loves you that much.
how to attach a headboard to a basic metal frame
Securing the headboard was pretty simple. Our metal bed frame came from Sam’s Club ($27).
The frame (as with most frames) had holes to bolt a headboard- two on each side. We had already measured how far apart the legs needed to be on our headboard to fit our particular frame.
We just marked with a pencil, drilled the holes, popped in the bolts and tightened them down! I think we will put an additional attachment to the wall itself at the top of the head board- but it is very secure as it is.

All in all, a very simple project. This time it took about 3 days. If we were to do it again, it would probably only take a day- if that…but it took a little figuring on the first try!
And HOLY MOLY, you can’t complain for only $8.
Cheers!
sarah
Side note: We do have a next step in our plan: night stands. Here is what one of them looks like now (I started to take the headboard shots with the unfinished night stands, but decided to keep it simple)