Whoa my goodness. We finally have a headboard! AND, lucky for you, we actually took pics of our process this time! Wooooo hoooo. So, here it goes….
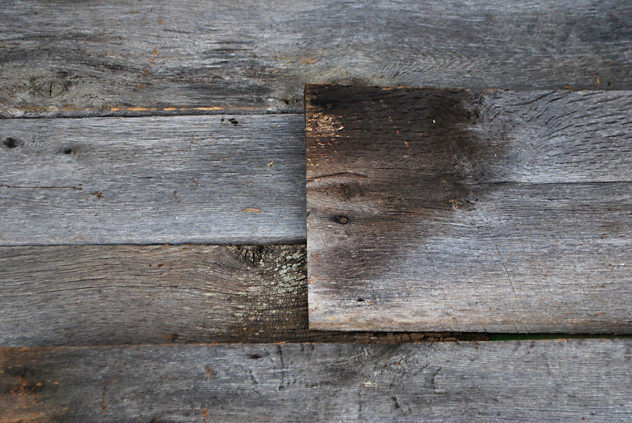
We used oak barn wood that we scored from Nathan’s brother a while back. Same stuff used to make our small barn wood kitchen table. We have a queen size metal bed frame- no head or foot board. Soooooo, with no real plan, we just set out to put our headboard together….
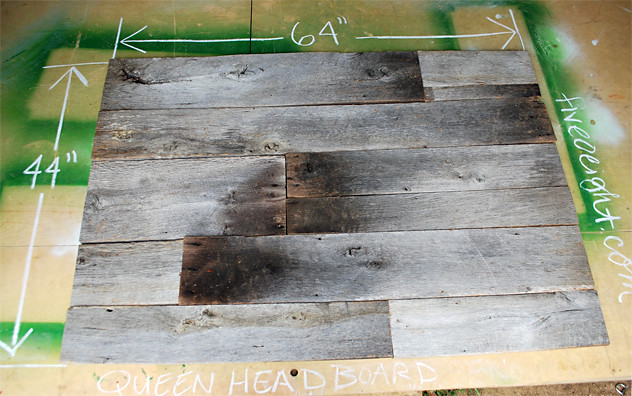
First, we laid out all our best pieces.
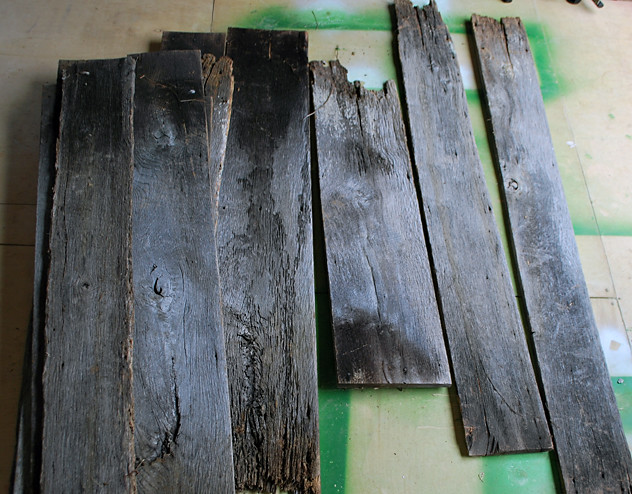
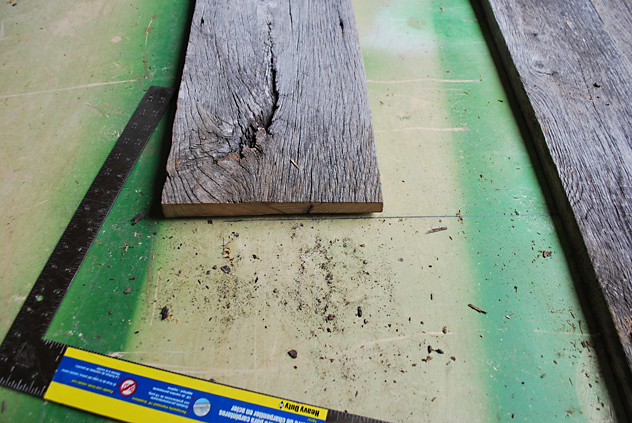
I didn’t want just a few straight boards nailed together, I wanted to stagger the pieces to create interest…of course, this also created more work. We laid them out on top of each other….roughly how we wanted….
There was some debate as to whether to keep the old nail heads in the wood, but in the end we took them out for easy-ness sake
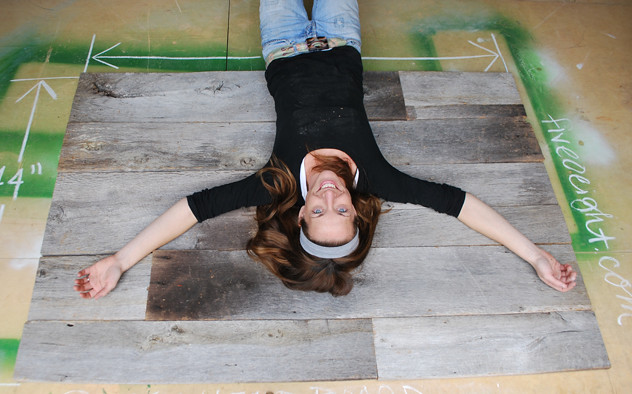
{SIDE NOTE} It was early morning and COLD – for it only being September….but we were kid free for the day. Nathan was capturing my attempt at being really exited that this was finally getting done. Which I was…but as you can see, the coffee was still needing to be drunk. I did my best.
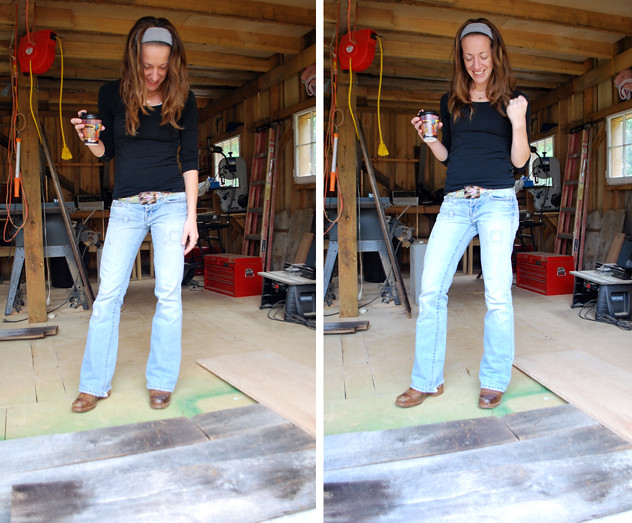
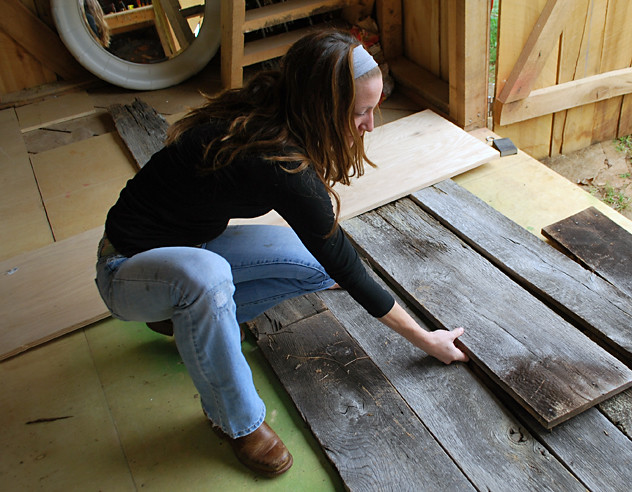
Back to the work. To figure out the SIZE of the headboard for a queen, we just went up to our bedroom with a measuring tape and guessed. Super technical, I know. Then we drew the outline directly on our workshop floor in pencil to help us line up the boards relitivly straight. Here is where you could have left a jagged edge, but we opted to have it clean cut.
Using the miter saw, Nathan cut the pieces to fit how we laid them out.
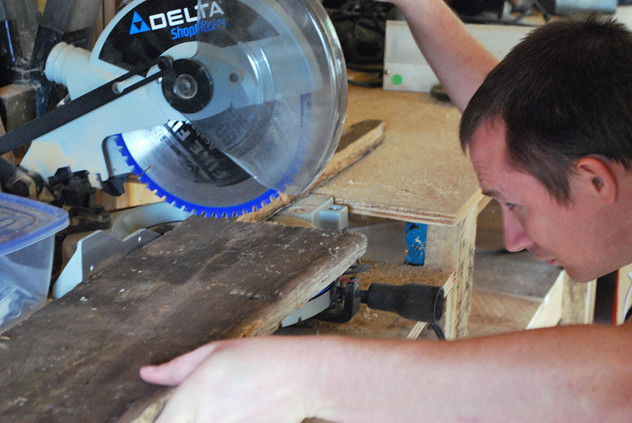

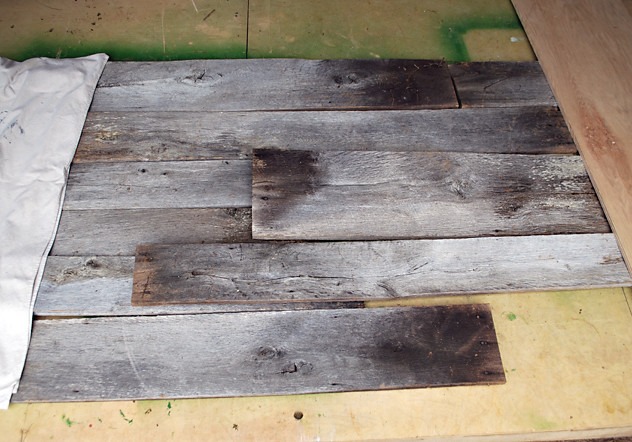
Here is the final size we came up with for a queen after all the boards were cut and laid out… 44″ x 64″
The wood we used for the next few steps will vary for you because we just used any leftover wood that we already had. But you can find similar something similar at any home improvement store.
The 2 main boards holding it together and connecting to the frame were roughly 1″ x 4″ and 65″ long.
We wanted the actual barn wood part to begin 22″ off the floor. So we attached the barn wood 22″ from the bottom of our 1″ x 4″ pieces with screws in case we needed to make any adjustments (nails seem more permanent).
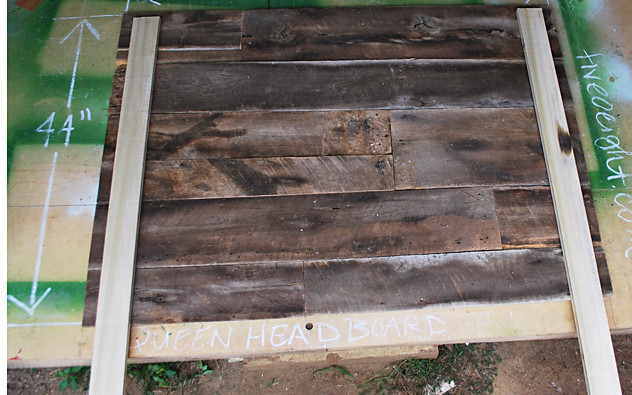
And, since we opted to have the front look staggared, we had to screw in pieces along the back were the boards met. Again, we just used scrap wood. We also used shims since the barn wood varied in thickness…doesn’t look that great, but super secure and sturdy.

The construction process wasn’t very hard- just time consuming. It took close to ONE day (even with out the kids). Doing it again would go much faster since we know how and have all the measurements. Here is what we had after the construction:
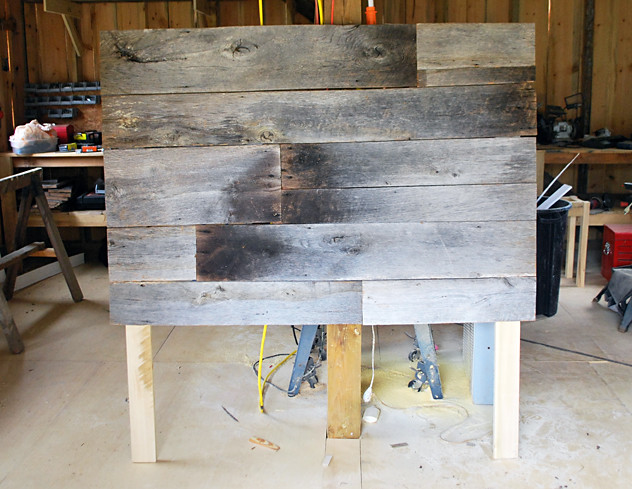
I know other people who have done headboards attach/hang them directly to the wall. However, the oak we used was WAY to heavy and most of our walls were plaster. This is why we have the legs. Also, I move our furniture around a lot and I wanted the option of moving our bed.
I am working on putting together the other photos…but PART TWO will how you how we sealed the boards and PART THREE will show you how we attached it to the frame and you will see the final pics!
Cheers!
-s