{See PART ONE of our DIY headboard here}
PART TWO: Finishing/Sealing
Ok, so here was the BIG dilemma: We really REALLY loved the gray weathered look of the barn wood. Problem is, as soon as you start any significant sanding, you loose the gray. Also, it seemed like every finish we tried darkened the gray. We love the variations in the original of dark and light gray and wanted to keep that as much as possible. So after much hemming and hawwing…here is how we did it:
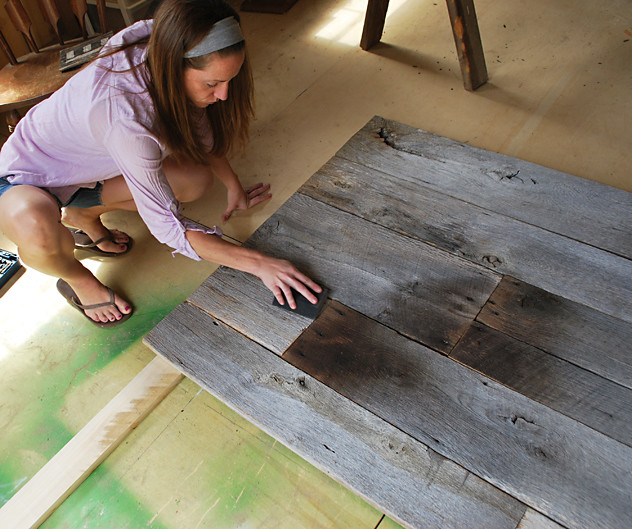
First, we sanded it LIGHTLY with a fine grit sanding sponge (we use these)- just dirt and getting any major splinters:
Next, we used a cleaning brush (like this one) over the entire thing….no water, just dry:
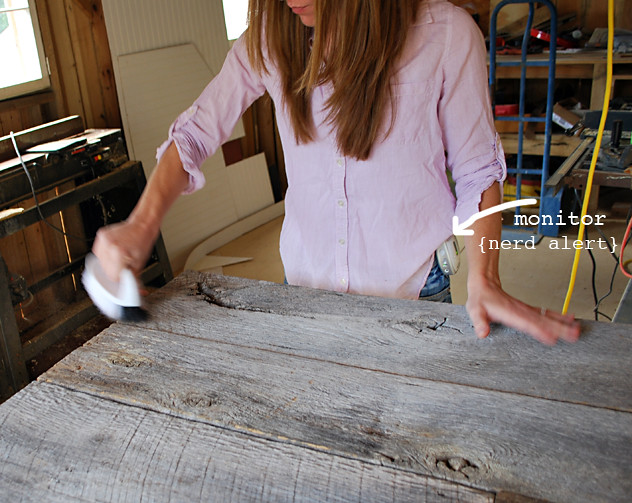
I could pretty much scrub as hard as I wanted with out messing it up. So I scrubbed. Because I don’t want a dirty headboard. Dang it.

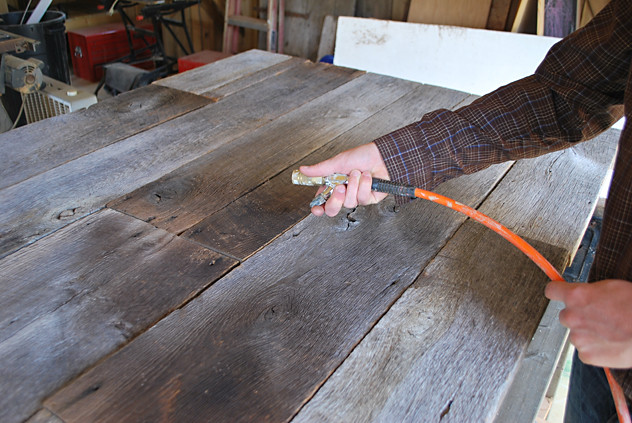
Next, we used the air compressor to blow away all the fine dust and dirt. We did this a lot too.
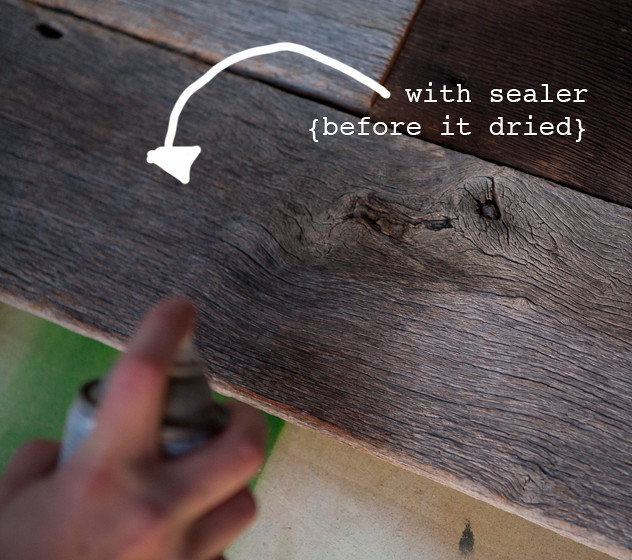
After this step, the boards were pretty smooth and it eliminated all of the dirt. Like I said, we tried MANY a finish and finally used Valspar FLAT Clear Finish Spray. It darkened it a little bit, but not too bad. We did several coats until I felt like I could cozy up against it (maybe 3-4 coats). I am a freak about such things.
When it was dry, it was lighter than that last pic.
OH!
And before we did the sealer, I painted a couple words on it. I forgot to take pics- but you will see it on PART THREE.
Next, Nathan will attach it to the bed frame – I will show you how we secure it and take the final shots.
Cheers!
-s